


How to Repair Scratched Wooden Floor

A scratched floor rarely stays a small problem for long. What starts as a few light marks from dining chairs or pet claws can quickly make an otherwise good room look tired, especially when sunlight catches every line across the boards. If you want to repair scratched wooden floor areas properly, the right fix depends on one thing above all else - whether the damage is only in the finish or has gone into the timber itself.
That distinction matters because wooden floors are not all built the same. A surface-level scratch in a lacquered engineered board calls for a different approach from a deep gouge in original Victorian pine. Get that wrong and you can waste time, spend money on the wrong products, or make the damaged patch stand out more than the scratch did in the first place.
How to assess a scratched wooden floor
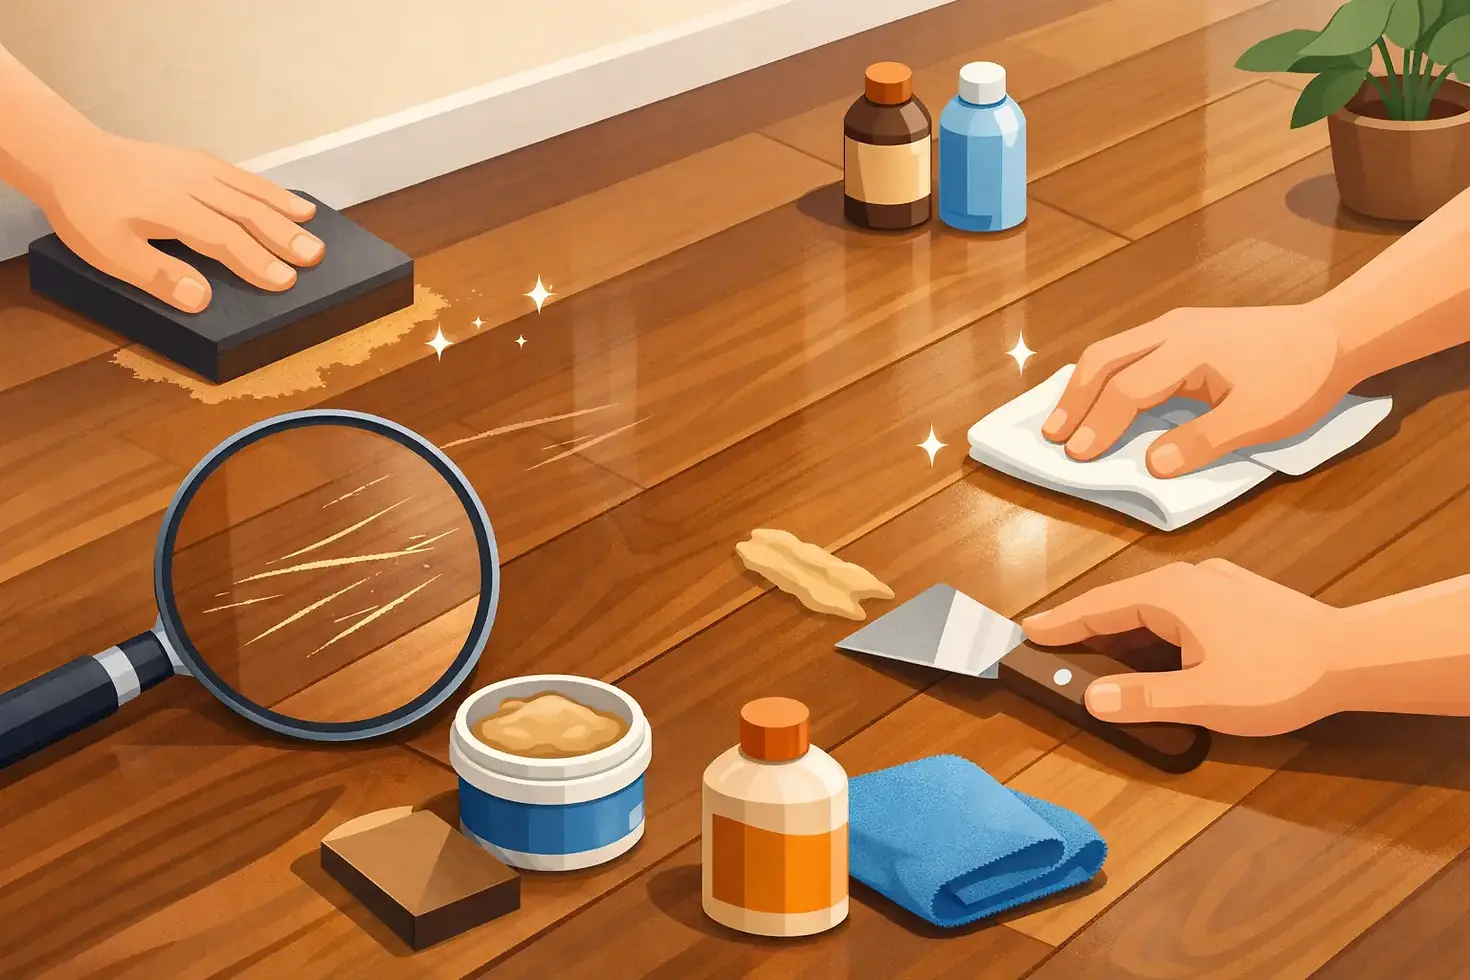
Before reaching for a repair kit, look closely at the damage in daylight. Light scratches usually affect only the protective coating. They often appear white or dull rather than dark, and you may not feel much when you run a fingernail across them. In many cases, these can be improved without major work.
Deeper scratches are more serious. If the mark catches your nail, exposes bare wood, or looks darker than the surrounding floor, the finish has likely been broken. Once timber is exposed, everyday moisture, dirt and wear can start to affect the board itself. That is the point where a quick cosmetic fix often stops being enough.
It also helps to identify the floor type. Solid wood gives more scope for sanding and refinishing. Engineered wood can also often be restored, but only if the top wear layer is thick enough. Parquet adds another layer of complexity because local repairs need to blend across a patterned surface rather than a single straight board.
Repair scratched wooden floor marks without full sanding
If the scratching is light and the finish is otherwise in good condition, localised treatment may be all you need. The aim here is to reduce the visibility of the mark and restore protection without creating a patchy result.
For minor surface scuffs, a suitable wood floor cleaner and microfibre cloth can sometimes make a noticeable difference. Floors often look more scratched than they are because dirt settles into fine abrasion marks. Cleaning first gives you a clearer view of the true condition.
If the mark remains but is only in the top coat, a refresher product or maintenance coating may help, depending on the finish already on the floor. This works best where the scratched area is part of wider light wear rather than one isolated deep line. On oiled floors, a maintenance oil can often improve light surface scratching and revive the overall appearance. On lacquered floors, a fresh top-up coat may be possible, but only when preparation is correct and product compatibility is certain.
For slightly deeper marks, a wax repair stick or coloured filler can disguise exposed areas. This is usually best for isolated scratches in lower-visibility spots, such as under a side table or near a skirting edge. It can be effective, but it is still a cosmetic repair. In a central living room floor with strong natural light, these spot fixes can remain visible if the colour, sheen or grain does not match closely.
When a scratch needs professional restoration
There is a point where local touch-up work becomes false economy. If scratches are spread across the room, if furniture movement has created repeated wear paths, or if the floor has a mix of dullness, dents and broken finish, sanding and refinishing is often the cleaner solution.
This is especially true in London homes where older timber floors have already seen decades of use. Original pine boards in terraced houses, for example, often carry layers of old coatings, filler, staining and uneven wear. Trying to repair individual scratches one by one rarely gives a consistent result. Sanding back the floor evenly and applying a fresh finish restores the whole surface rather than chasing defects in isolation.
A proper restoration also allows deeper issues to be addressed at the same time. Loose boards, gaps, blackened edges from old moisture exposure, and worn high-traffic zones can all be handled during the same project. The result is not just a less scratched floor, but a floor that feels sounder and looks properly finished.
The best approach for different floor finishes
Not every scratched floor should be treated in the same way. Finish type changes both the repair method and the likely outcome.
Lacquered floors
Lacquer sits on the surface and forms a protective film. Light scratches in that film may be improved with specialist maintenance products, but once the lacquer is cut through, the damaged patch can be hard to blend invisibly. Local repairs often leave a visible edge or change in sheen, especially on satin and matt finishes where light reflects unevenly.
Where lacquer damage is widespread, a full sanding and reseal is usually the most reliable answer. That creates a uniform finish and restores protection across the room.
Oiled floors
Oiled wood tends to be more forgiving for local repairs because the finish penetrates rather than simply sitting on top. Small scratched sections can sometimes be cleaned, lightly abraded and re-oiled more successfully than lacquered floors. Even so, colour matching still matters. Fresh oil on one patch can initially appear richer than the surrounding area until it settles.
Engineered wood floors
Engineered boards can often be repaired, but caution is essential. The thickness of the real wood wear layer determines whether sanding is viable. Some good-quality engineered floors allow restoration more than once, while thinner products offer far less room for error. If the scratch is deep and the wear layer is limited, aggressive sanding can do more harm than good.
Parquet and patterned floors
Herringbone, chevron and other decorative layouts need a more careful eye. A scratched block can sometimes be repaired or replaced, but consistency across the pattern is everything. Even a technically correct repair will look poor if the colour tone or finish level sits apart from surrounding blocks.
Why DIY repair sometimes disappoints
The main issue with DIY scratch repair is not effort - it is blending. Many homeowners can fill a mark or apply a touch-up product. The difficult part is making that repaired area disappear into the rest of the floor.
Wood changes over time. Sunlight alters colour, finishes mellow, and older boards pick up subtle variation that cannot be copied straight from a shelf-bought repair pen. That is why quick fixes can look acceptable at first glance but obvious from across the room.
There is also the question of preparation. If a floor is not properly cleaned, lightly abraded where needed, and finished with a compatible product, the repair may fail early or leave a cloudy patch. In busy homes, especially with children, pets or tenants, that usually means doing the job again sooner than expected.
What a professional repair process looks like
A proper floor repair starts with inspection, not sanding. The condition of the boards, the type of finish, the depth of scratching and the age of the floor all need to be checked before the right method is chosen.
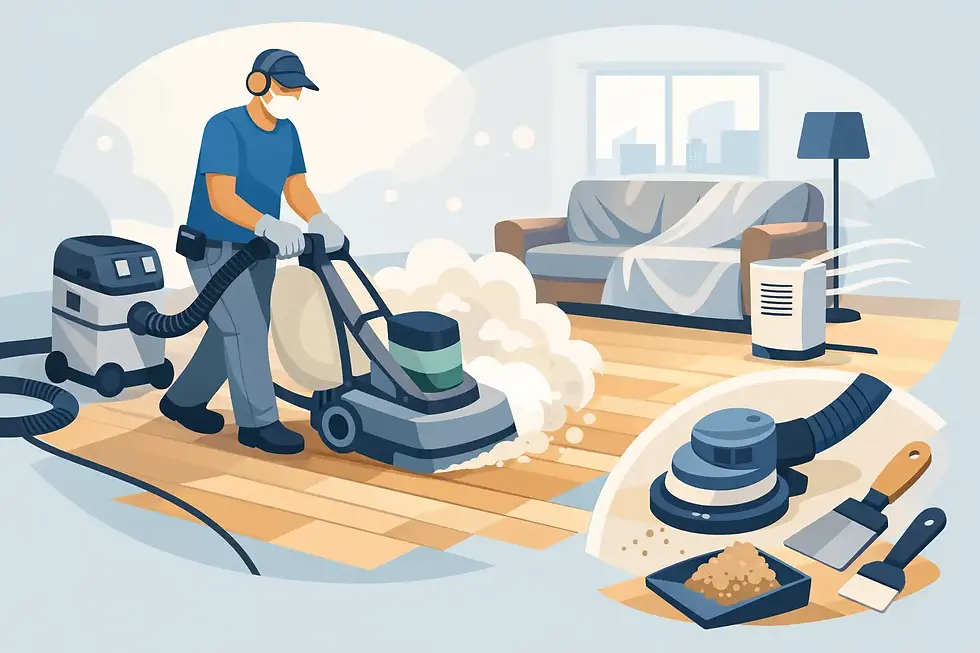
For isolated damage, a specialist may recommend local repair, filling or board replacement. For broader wear, sanding the full room is often the better route. Modern dust-controlled sanding systems make this far cleaner than many people expect, which matters in occupied London homes where disruption is a genuine concern rather than a minor detail.
Once the damaged layer is removed, the floor can be refinished with a product that suits both the timber and the property. That might mean a hardwearing lacquer for a busy family room, or a natural oil finish for a softer, more traditional look. Premium systems from brands such as Bona, Loba and Osmo tend to offer better durability and a more consistent finish than budget alternatives, particularly on high-use floors.
How to stop scratches coming back
Even the best restoration will not stay pristine without a bit of protection. The good news is that preventing repeat scratching is usually simple.
Felt pads under chairs make a bigger difference than most people expect. Entrance mats help reduce grit, which is one of the main causes of fine scratching. Keeping pet claws trimmed and avoiding dragging furniture across the boards also protects the finish. For landlord properties and family homes alike, these small habits extend the life of the floor far more effectively than waiting for damage and reacting later.
Regular maintenance matters too. The wrong cleaning products can dull or weaken a finish over time, making it more vulnerable to visible scratching. Using products suited to the floor's finish helps preserve both appearance and protection.
Is it worth repairing or should you replace the floor?
In many cases, repair is the better investment. Good timber floors, whether original boards, solid oak or quality engineered wood, are usually worth restoring if the structure is sound. Surface scratching often makes a floor look worse than it really is.
Replacement tends to make more sense when boards are badly warped, extensively water-damaged, too thin to sand, or poorly fitted in the first place. Otherwise, repair and restoration can deliver a far better visual result at lower cost and with less upheaval.
For homeowners across London, that balance matters. A well-restored floor adds warmth, value and character to a property, and it does so without stripping away the features that made the floor worth keeping. Companies such as Love Your Floor London see this regularly in both period homes and modern flats where a scratched surface is hiding timber that still has plenty of life left in it.
If your floor is marked, dull or visibly worn, the smartest next step is not guessing which repair product might help. It is finding out what the scratch has actually damaged, because once you know whether it is the finish, the wood, or the floor as a whole, the right solution becomes much clearer.


Comments